Why cut your hair at home?
You know the feeling of stepping out of the barber’s or hairdresser’s with freshly cut hair? It feels good. You feel good.
You feel good because you know that your new look suits you and accentuates (or obscures) exactly the features you want it to.
That’s why we place so much importance on the barber for our beard style and hairstyle. At the time of writing (April 2020), the main reason to try a different haircut at home is because we simply don’t have the choice because of the 1.5-meter social distancing rule and ban on contact-based professions.
But there are also many men who have been updating their hair at home for years (or have it updated by their partner).
Some reasons for this are:
- Saving on barber costs, which saves you money each 4-5 weeks on average
- Trimmed men’s haircuts are easier to touch up with good clippers
- Short men’s haircuts require regular visits to a salon (every 2-3 weeks)
- Adventurous people who are okay with experimenting with their haircuts
Another reason is the sense of control you can get from cutting your own hair. Whatever is happening around you, the fact that you are taking a quiet moment for yourself where you give yourself a hairstyle that you like can make you feel content.
You are teaching yourself a skill that benefits you right away. Or not, and then you learn from your mistakes so that you can do better the next time.
Preparations
It’s important to prepare properly. Cutting your hair yourself is quite a challenge (but not impossible), and can feel pretty nerve-wracking.
Whatever your reasons for deciding to cut your hair yourself, good preparation is really necessary.
Some hairstyles are easier to style yourself, while others require the help of clippers or a trimmer.
Make sure to read the steps below and take notes to help you.
Note: The chances that cutting your hair yourself will go well are slim. It’s probably not something you’re used to and cutting requires precise work. But don’t worry, because practice makes perfect and you will eventually succeed, but give it some time to get it 100% right.
1. Choose a hairstyle
As with your regular visit to a salon or barber, make sure you know exactly what hairstyle you want.
It is not very useful if you change your strategy during the cutting process and you may make mistakes.
The whole process will be a lot smoother if you have a clear picture of what you want in your mind before you start.
→ Must read: the inspiration guide for men’s haircuts of the moment
In principle, you can create any hairstyle yourself. However, in this guide we focus on hairstyles that are easier than some of the more complex styles we talk about (the pompadour, layered cuts, bangs, shaved motifs, etc.) because these can quickly become very difficult and challenging to recreate.
This means that we’ll be focusing on shorter hairstyles, because the longer the hair, the more difficult it is to style.
If you still want to deviate from the inspiration below, you can of course, because most of these start with the sides and are achieved using clippers.
Make sure you start from there and continue with the sides.
There are many different styles to cut at home and it would be impossible to write a specific guide for all hairstyles.
We have therefore chosen a step-by-step plan that gives you a good basis for all hairstyles.
That way, you decide when you are satisfied and / or whether you continue to cut the look you want.
Below, you will find inspiration for easy hairstyles and find out the features of each style. Use this information in combination with the step-by-step plan before starting on your home haircut.
Inspiration for easy hairstyles:
Buzz Cut
- Hair length: 1-2mm
- One of the easiest hairstyles to create at home
- Sides: 1-2mm
- Back: 1-2mm
- Top: 1-2mm
- Transition between the top to the rest of the hair: none
- Ears: uncovered
- Sideburns: connected or disconnected with the beard
- Must haves: clippers with attachment
- View the lookbook for the buzz cut

Cropped men’s hairstyles
- Length of hair: 1-5mm
- Easy to create at home
- Sides: 1-5mm
- Back: 1-5mm
- Top: 1-5mm
- Transition between the top to the rest of the hair: none
- Ears: uncovered
- Sideburns: connected or disconnected with the beard
- Must-haves: clippers with attachment, scissors, mirror
- View the lookbook for men’s cropped hairstyles

Undercut
- Sides: 2-5mm
- Back: 2-5mm
- Top: 5+ mm, longer than the sides and back
- Transition between the top to the rest of the hair: gradual, shaved
- Ears: uncovered
- Sideburns: connected or disconnected with the beard
- Must-haves: clippers with attachment, scissors
- View the lookbook for the undercut

Shave
- Versions: low, medium and high
- In this style, the bottom length gradually fades into a longer length. This is achieved by setting the clippers to a higher position each time.
- Sides: 1-5mm
- Back: 1-5mm
- Top: 5+ mm
- Transition between the top to the rest of the hair: gradual
- Ears: uncovered
- Sideburns: connected or disconnected with the beard
- Must-haves: clippers with attachments, scissors
- View the lookbook for the fade shave style
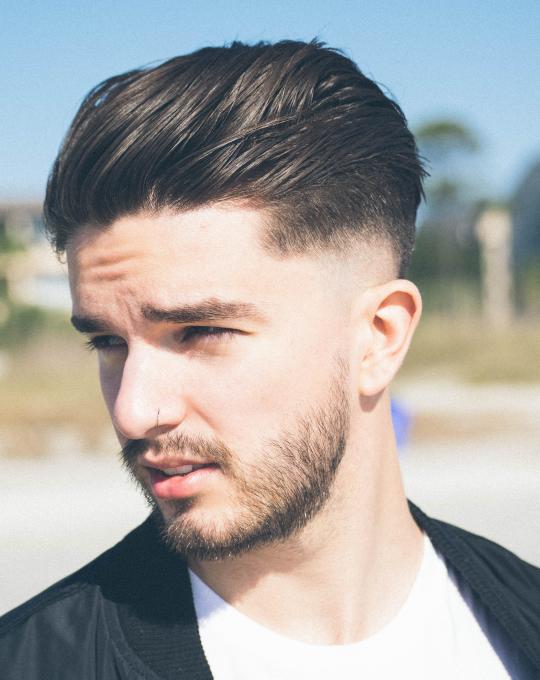
Crest or quiff
- Easy to combine with an undercut or shave
- The length of the sides and back is up to you
- Sides: 2+ mm
- Back: 2+ mm
- Top: 5+ mm
- Transition between the top to the rest of the hair: overflowing, gradual or tight, depending on the combination with a shave or undercut
- Ears: uncovered
- Sideburns: connected or disconnected with the beard
- Must-haves: clippers with attachments, scissors, straight razor
- View the lookbook for the crest

Bald
- What you need: double-edge razor and shaving cream
- Don’t forget sunscreen!

2. Choose a good place to cut your hair
Choose a good place in the house where you can work on your hairstyle in peace.
A good light source is important. Choose a place in front of a window with natural sunlight so that you can always see what you are doing.
Otherwise, when the sun isn’t shining, choose a place where you can easily light your work up with a bright lamp.
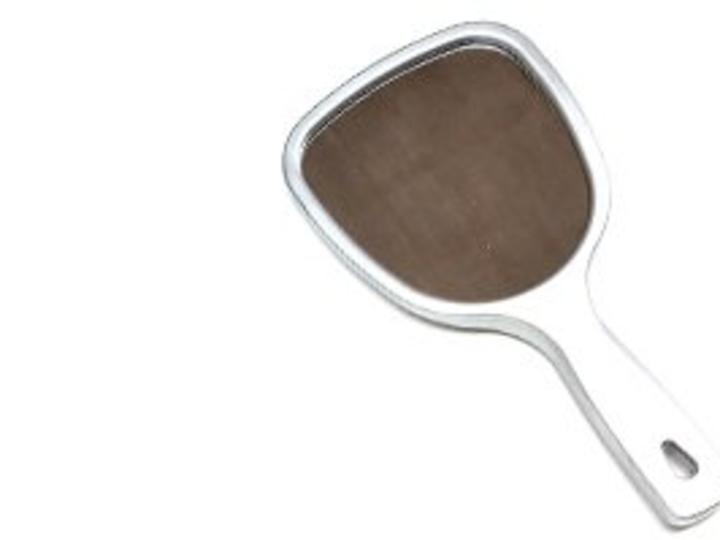
Also, try to get your hands on a good mirror. You can use the mirror in the bathroom for a front view of your hair, but you’re going to need a handheld mirror that gives you a good view of the sides and back as well.
Finally, we recommend using a tarpaulin or cloth with which you can easily sweep up residual hair.
If you don’t have either, make sure you at least have a vacuum cleaner on hand.
In summary, you will need:
- A natural light source or bright lamp
- A fixed mirror + hand mirror
- A tarpaulin, cloth or vacuum cleaner for tidying up
3. Shopping list must-haves
Cutting hair at home requires professional tools.
You will have to make an initial investment in good supplies to save costs later.
A clipper + scissors + mirror will cost you around €75. On average, you pay €25 for a visit to the hairdresser or barber, so after 3-4 cuts at home it will all have been worth it.
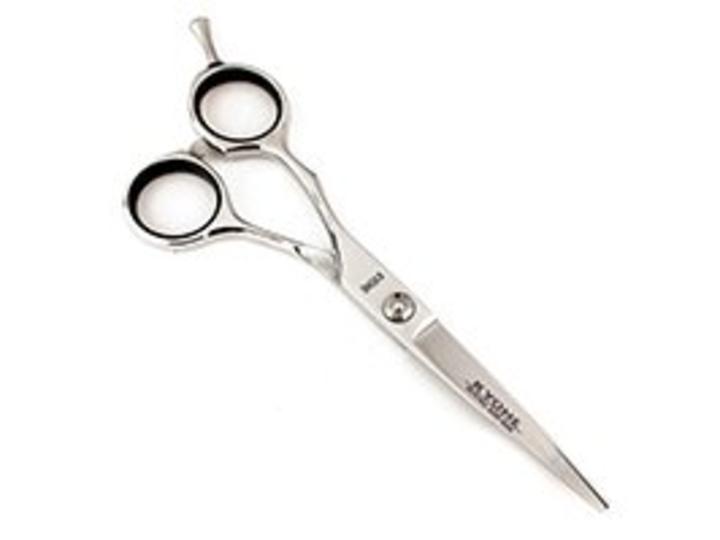
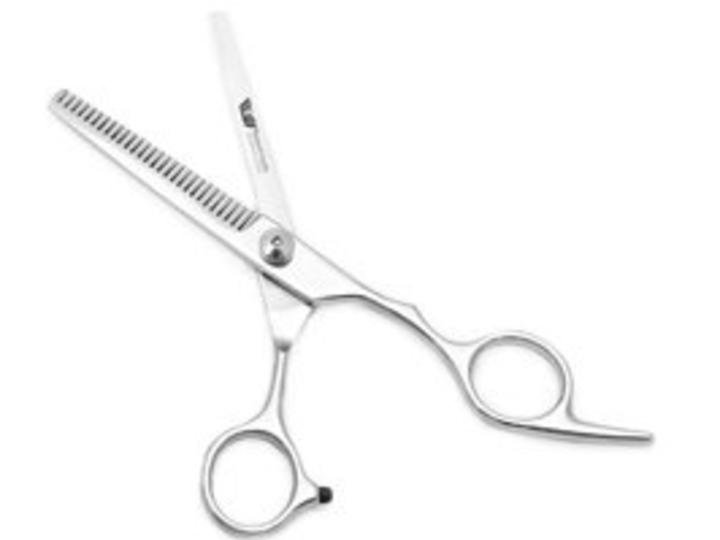
Standard tools include a clipper with attachments, a good pair of shears and possibly scissors for thinning your hair.
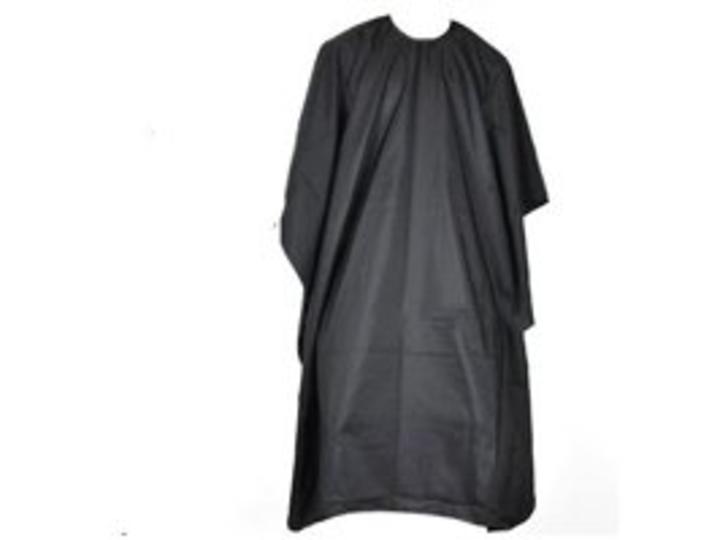
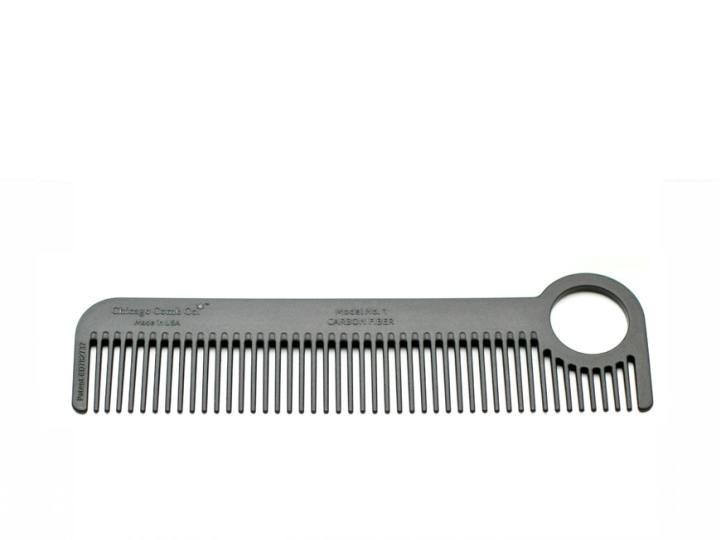
Some extras you may want to think about include a comb to see hair lengths, a hairdresser’s coat to collect hair and a spray bottle to moisten the hair.
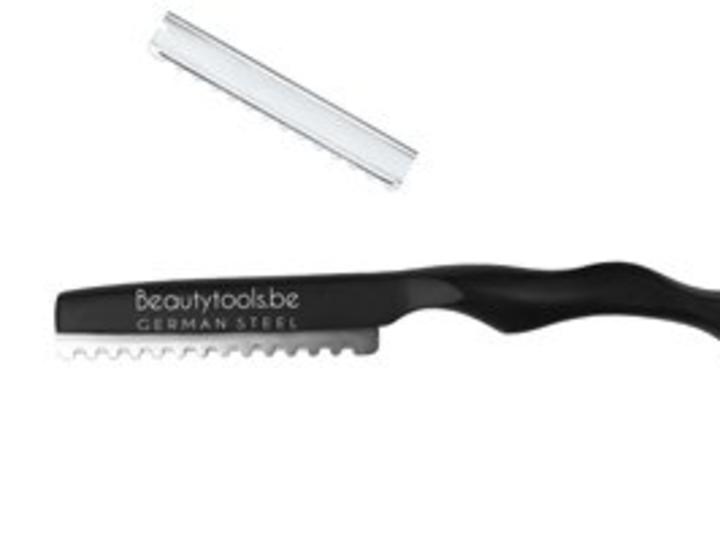
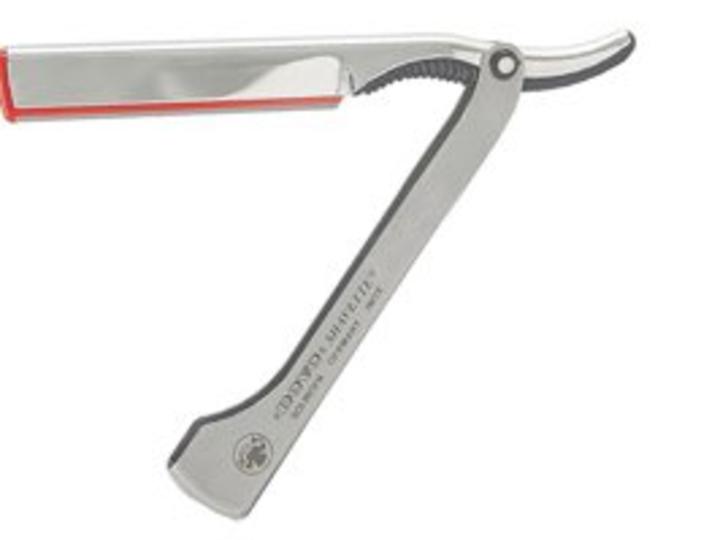
To give yourself a complete haircut, also invest in a shavette or straight razor (single-edge razor) for neck hair and a blow-dryer to get rid of leftover cut hair.
Shopping list:
- Professional clippers with attachment. Check the best hair clippers here.
- Cutting shears
- Thinning scissors or blade
- Hairdresser’s coat (waterproof)
- Handheld mirror to view back and sides
- Hairdressing comb or standard hair comb
- Open razor / shavette for the neckline
- Spray bottle to moisten the hair clippers

4. Hair washing
You need to wash, and preferably condition, your hair before you start.
Tip: Washing your hair twice a week is more than enough, even if you regularly style your hair.
Clean hair is easier to style and it is simply nicer to work with.
During the cutting process, you will regularly have to hold sections of hair together to measure and you don’t want the hair to stick or not section properly.
You can also comb clean hair more easily, meaning you can effortlessly style a crest after giving yourself a haircut, for example.
The clippers and scissors also have less resistance from dirt, making them easier to use.
Hopefully, you’re now convinced to wash your hair before you start!
Note: make sure your hair is towel-dry after washing before you start cutting because soaking wet hair looks longer and is not workable.
You will then need to moisten the hair with a spray throughout the cutting process (more on that below).
5. Start cutting your hair
So you’ve read the above steps carefully. You have the hairstyle you want in mind, the necessary tools within reach and your hair feels fresh after a good wash. You’re in a comfortable chair with plenty of natural light. You’re ready!
But first, follow these tips:
- Always start with a longer length on the trimmer attachment. You can always shorten your cut, but you can’t make it longer once it’s cut
- Create imaginary sections on the head and finish each section before moving on to a new one. Always check that the length (within the section) is equal to the length of the connecting sections
- Double check that the trimmer attachment is properly attached and straight
- Use a comb + clippers to create a smooth transition on the sides and back
- Use a razor to cut the neck hair (and possibly update the neck/beard line)
- If using scissors: moisten the hair with the spray bottle before you start
- If using clippers: keep the hair dry
- Always shave against the direction of hair growth
- If it all goes really wrong, you can always opt for a cropped look or buzz cut, so don’t worry.
As we mentioned, there are many different hairstyles to choose from and it’s pretty much impossible to write a step-by-step guide for each style.
The following steps are therefore structured so that you have a good basis for most hairstyles.
From there you can continue to work and decide whether or not you are satisfied after each step.
5.1 Start with the sides
Attach the trimmer attachment at 3-4mm to start with, even if your desired length is 1-2mm.
If necessary, use a hairdryer to dry wet hair. The hair is supposed to be towel-dry (read: a little damp).
Start from the bottom and work with precision upwards, against the direction of hair growth.
Move through your hair with the clippers and feel whether there is too much or too little resistance.
Move in the same way again so that you are sure that you have shaved/removed all hair.
If you’re going for a buzz cut/trimmed hair: shave all of your hair to the same length.
If you are going for a shave/undercut: start at the bottom with 1mm length and finish at the top with 2-3mm length, creating a gradual transition from bottom to top.
If you are going for a quiff: combine it with a shave or undercut, or leave the sides longer.
5.2 The back
Now move onto the back.
Buzz cut: keep the clippers at the same length (1mm or 2mm) throughout.
Shave or undercut: return the clippers to the same position that you used for the bottom, middle, and top of the sides.
Hold the mirror in one hand while starting from the bottom with the clippers in the other hand and gradually shaving upwards.
Make sure that the back connects to the sides and that the lengths are the same from bottom to top.
5.3 Creating a shave
A shave (also called a “fade”) is a gradual transition from short to slightly longer hair, usually with a difference of 1 to 2mm. Visually this looks like fading.
1mm at the bottom gradually turns into 2 or 3mm at the top. The fade line must run over the sides and back so that the blurring effect flows nicely.
There are three variations of the shave or fade:
- Low fade: The transition starts at the bottom, from the neck. This is the most common and most popular version of the fade.
- Mid fade: The transition starts at the center of the sides and back.
- High fade: The transition starts to blend at the top of the sides and back.
- Taper fade: A version where only the neckline and sideburns have a fading transition.

Video guide for cutting your hair with scissors
Video guide for cutting your hair with clippers
5.4 The top
Hairstyles longer than a few millimeters require scissors to perfect.
Make sure the hair is damp and start on the top.
Divide the top into imaginary sections and gather the hair within one section at a time.
Then always cut in a straight line and, for example, 1 or 2 fingers wide/high.
Go through each section in this way. You start by cutting a short length to first get a good feeling of where you were going. You can now decide whether to trim the sections again, this time with a shorter length.
Buzz cut: the clippers stay at the same length (1mm or 2mm) throughout. Shave the top evenly from side to side. Finally, touch up the “bangs,” or the hair that falls over the forehead.
Fade or undercut: if you want a hard transition, make sure the hair on top stays longer. For a smooth transition, make sure the length on top is longer or equal to the longest length at the top of the fade.
5.5 The crown and back
The shape of your head makes the crown area difficult to touch up.
If you’re going for a longer hairstyle on top, as with a quiff, we recommend trimming the crown area with scissors and leaving it a little longer so that it stands out less.
The goal is to allow the hair on the crown to flow neatly from the back to the top.
Buzz cut/trimmed hair: shave the crown to the same length as the rest, but pay attention to the direction of growth. Shave against the grain and follow the contours of your head.
5.6 Refinement + details
The sides, top, and back are — if all goes according to plan — now at the right length.
Now is the time to refine and finalize your new look.
First, double check all areas and see if there are any strange lines or uneven areas. Cut or shave them off before you move on.
As a finishing touch, you are going to update the hairline around the ears, sideburns, and neckline.
The choice is yours whether to use clippers or a straight razor. With the clippers, make sure to remove the attachment in order to use the shaving foil.
With a straight razor, picture your desired neckline and shave off the neck hair from there.
5.6 Hairstyles
Hairstyles are difficult to create if you’ve opted for a buzz cut or cropped look, but great if you have a quiff, for example.
Styling your own hair after cutting it yourself is super satisfying.
Style your hair as desired with a water-based pomade or clay with light to medium hold.
If you want a natural look, choose a ‘matte shine’ product. If you want a sleek look, choose a high-gloss product.
Finishing
Well done! You successfully cut your own hair. If this was your first time, you have probably noticed areas for improvement. Make a note of them and correct them next time.
Was this guide helpful? Then share it with your friends or family who would be great at cutting their own hair. You can now easily share your own experience and help them, too.
Summary
As a man, cutting your own hair is a valuable skill to learn, regardless of why you’re doing it. Cutting your hair gives you a peaceful moment to yourself and a feeling of control.
The process definitely requires some flexibility and a good deal of trial and error to meet your own standards, but it will pay off in the end.
You initially need to make an investment in quality tools, with at least the following:
- Clippers with attachment
- Hairdressing scissors
- Spray bottle
If you want to be completely prepared, you can upgrade your home salon with:
- Thinning knife
- Classic razor for the neckline
- Hairdresser’s cloak to catch hair
Follow the step-by-step guide above. You start by doing the sides, then the back, and finally the top. Always choose a hairstyle to cut first and don’t change your mind while cutting.
We also recommend watching some how-to videos (see above) to get a good idea of what the steps look like. Good luck!


